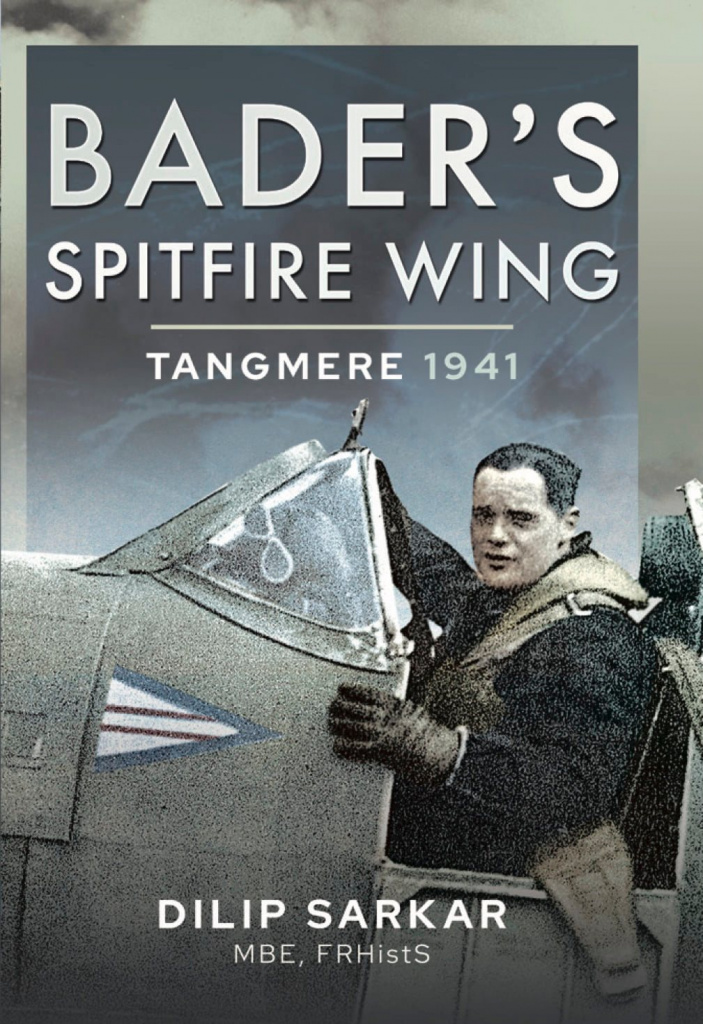
On 30 August 1940, at the height of the Battle of Britain, the pilots of RAF Fighter Command’s No.12 Group were requested to reinforce 11 Group and intercept a Luftwaffe raid on an aircraft factory at Hatfield. The events that day led the swashbuckling, legless, fighter pilot Douglas Bader to submit a report arguing that the more fighters he had at his disposal, the greater would be the execution of the enemy that could be achieved.
It was a concept that received support from 12 Group’s Air Officer Commanding, Air Vice-Marshal Leigh-Mallory. In Bader’s proposal, Leigh-Mallory saw an opportunity for 12 Group to play a greater part in what was clearly an historic battle. Leigh-Mallory authorised Bader to lead three, then five, squadrons – a controversial formation that came to be known as the ‘Duxford Wing’ or ‘Big Wing’.
For the rest of 1940, Bader and the ‘Big Wing’, then based at Duxford, played its part in the defence of Britain’s skies. Then, in March 1941, the role of ‘Wing Commander (Flying)’ was created. This was the fighter pilot’s dream appointment because the Wing Leader’s sole responsibility was leading his wing in action, unfettered by tedious administration and logistical matters.
Needless to say, Douglas Bader was amongst the first wing leaders. He was even given the choice of which Wing he preferred. He chose to take command of that based at Tangmere on the South Coast – right at the fore of the RAF’s battle against the Luftwaffe.
In Bader’s Spitfire Wing, Dilip Sarkar not only explores the full story of the men and machines of the Tangmere Wing in 1941, as well as the controversy that surrounds their use, he also fully investigates the part that they played in the RAF’s efforts to take the offensive to the Luftwaffe on the opposite side of the English Channel. It was in one such sortie in August 1941 that the Tangmere Wing lost its famous leader. Bader went on to spend the rest of the war in captivity.